Lesson One: Exposure
What is it and how do you achieve it properly?
Understanding Exposure
This is the main thing to know about photography: it’s ALL about light! Not only the lighting situation you find yourself in, but also the amount of light that is coming into your camera to capture the image. Simply put, exposure is the amount of light in your photo. A “properly exposed” photo won’t be too dark or too bright. Simple enough, right? Let’s take a quick look at an example so you understand what I’m talking about:
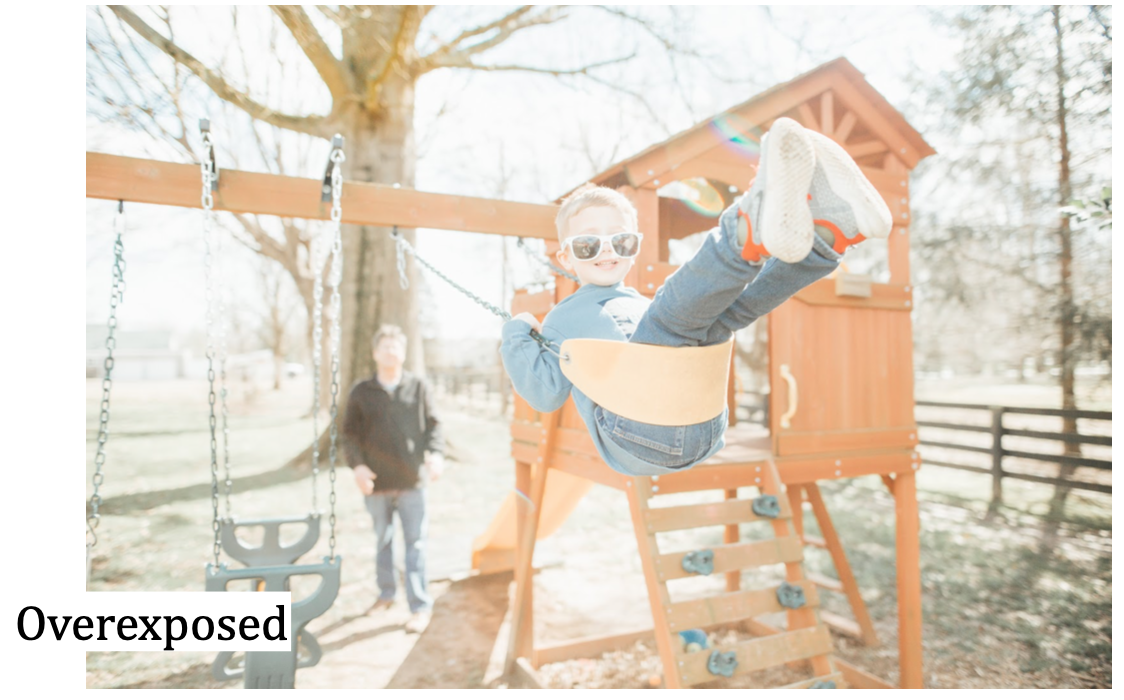
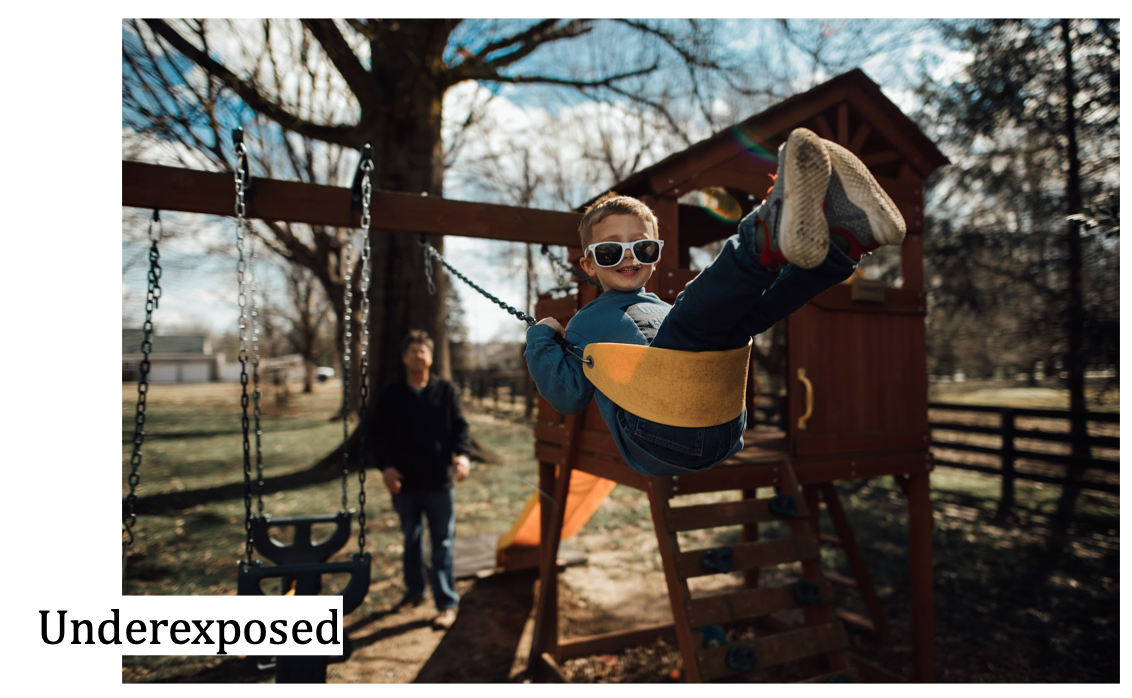
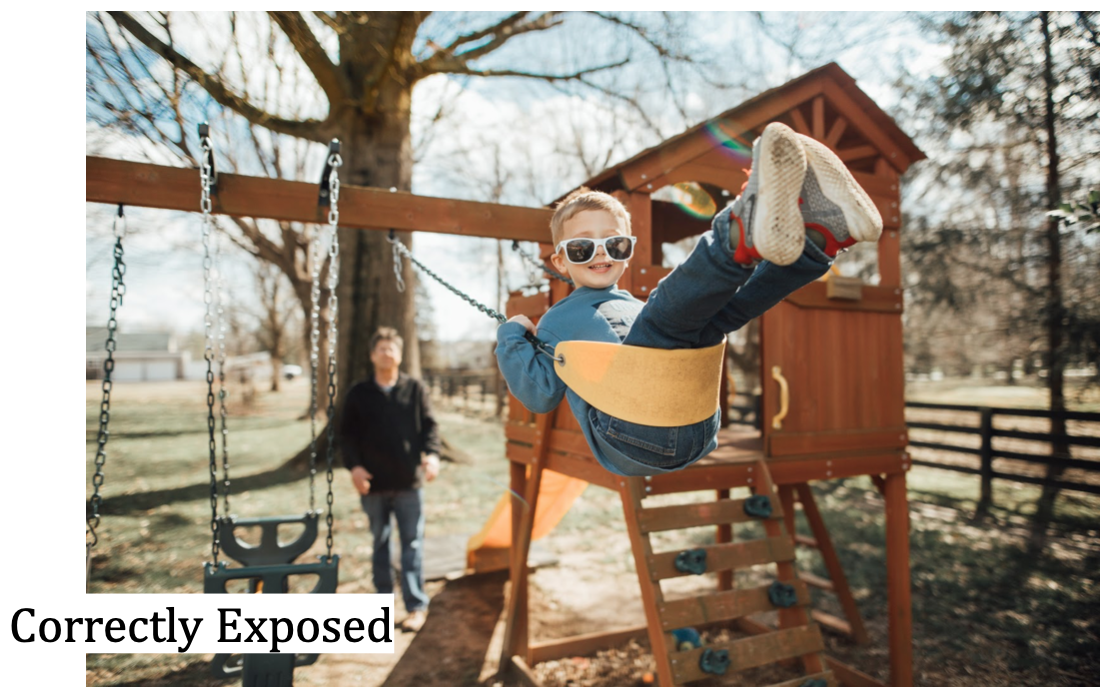
You can see that the overexposed image has too much light, which causes the details and highlights (brighter parts of the photo) to be blown out. The underexposed image is too dark, making it difficult to make out anything in the shadows (dark parts) of the photo. The correctly exposed photo is just right - the highlights still have detail and the shadows aren’t too dark.
Easy stuff, right? Okay, moving on! So now you’re probably wondering, how do you get a properly exposed photo (without keeping your camera in automatic mode). This is where it gets a little more in depth, but it’s okay - baby steps!
Exposure is determined by three settings:
(These are also the three settings you will have full control over if/when shooting in manual mode.)
ISO: your camera’s sensitivity to light
Aperture: an opening in the lens through which light passes to enter the camera; this is the setting you would play with to get that fun, blurred background look
Shutter Speed: the length of time camera shutter is open, exposing light onto the camera sensor; this can freeze action or blur motion
These three elements make up the Exposure Triangle. I will go into more detail about these three settings in upcoming lessons, or you can learn more about from my friends at Pixpa.com HERE. For the purposes of this first lesson, I just want you to get familiar with these three settings. Before you learn how to adjust these settings correctly you have to understand what they are and where to find them first!
*your Homework assignment:
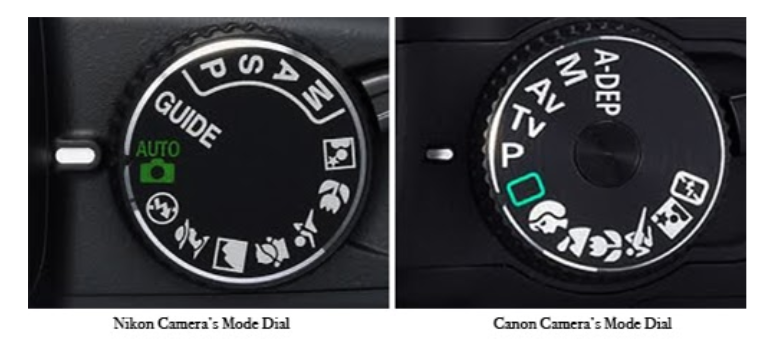
Yep, you have homework! Pull out your camera manual and find where the ISO, aperture, and shutter speed settings are on your camera. If you don’t have your camera manual on hand, do a simple google search of your camera make and model and how to find these buttons on your camera. Play around with these settings by actually adjusting them. Note: you will have to get out of automatic mode to do this. Put your camera in Manual mode (look for the ‘M’ setting like in the image shown) and you will be able to adjust all three of these settings. Don’t worry, no need to take a picture (unless you want to). Just get familiar with where to find these settings on your camera! Next week we will focus more one each of these.
BONUS assignment: pay attention to different photographs you see (photos you take, see on social media, displayed in your home, etc) and ask yourself whether it’s properly exposed or not. Do you think it should be brighter, darker, or is it just right? Photography is all about light, so pay attention and observe the light around you and in photographs you see. Before you know it, you’ll start noticing the light all around you and will think of ways you can use it to make beautiful photographs.